Days Gone Marion Forks Infestation Nest locations are usually easy to find but sometimes can be difficult to locate. Zombies will keep spawning in large numbers in these red zones until you burn their infested nest.
Here are all 5 Nest Locations in the Marion Forks territory. Fast travel will be locked for this location until these are burned down. Dens are built with trash, branches, and other odd materials that must be destroyed.
Marion Forks Infestation Guide
If you used all your Molotovs to clear out a roaming horde for any reason, you can also try the red gas cans as a last resort. It s a one-off, but it’s better than leaving and having to come back later in the game. A gas station is right in the middle of this small town so no worries about filling your bike with fuel before being used.
As you should know by now, the crossbow and silencers make our life much easier. Instead of being swarmed by the infected all at once, we can pick them off one by one. Depending on what time of day it is. Zombies will either be stronger during the day or in larger numbers at night.

When we first started dating, me and Sarah used to ride through Marion Forks all the time, stop at hungry Jim’s for french toast and Flapjacks. I remember her saying, if I ever get married, it’s going to be in that little church, right over there. That woman always know exactly what she wanted, and she always got it.
Deacon St. John
All 5 Nest Locations

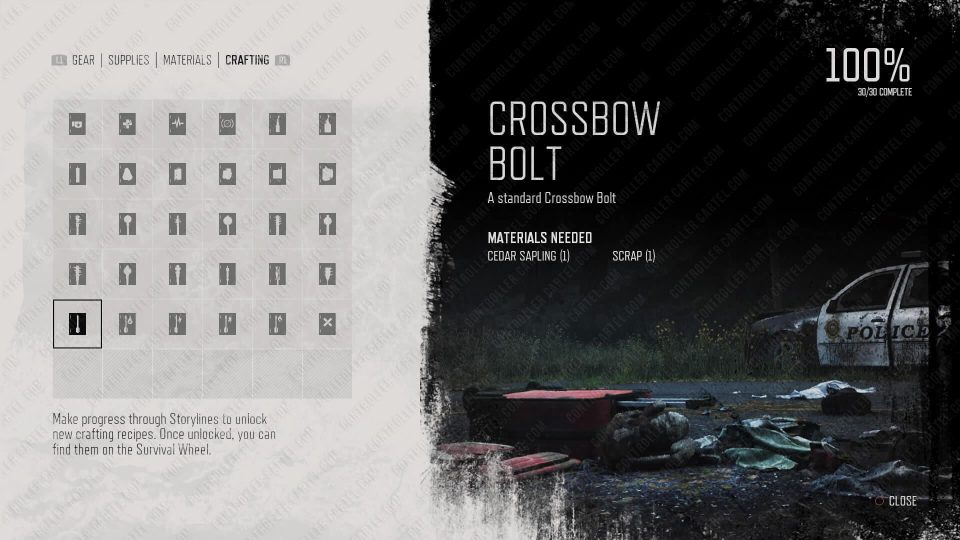
At this point in the story Deacon can only hold 3 Molotovs unless you got the capacity upgrade from the skill tree. These infection areas are also spawning points for Rags, Kerosene, and Bottles. So make sure to craft everything you can so we can stay full on resources as we gather them on the map. Follow along with the video or the text guide below.
Location #1 – Grocery Store
The first nest is located in the Grocery store. Jump through one of the windows and check the room in the back of the store. Freakers will attack so try to destroy their nest as they will continue to spawn from the nest until it is destroyed.
Location #2 – Gas Station
The next location is inside a gas station. Follow the main road and jump over the broken bridge. Go around the back and you will see the nest residue from outside. Quickly throw a Molotov before killing any freakers.
Location #3 – Abandoned Building
The abandoned building has several floors. Head upstairs and continue into the main room and look on the right side. There will be a bathroom across the way. Burn it and jump out the window.
Location #4 – Cabin
This wooden cabin is Nest 4. You don’t need to enter the house. Visit the eastern wall of the cabin and there will be a window. Toss the Molotov through it and you are done.
Location #5 – Shed
The final location to complete this area is the Shed and garage with all the farming vehicles inside, including another nest.
Additional Content
If you are interested in liberating other areas, try using our Infestation Exterminator Guide to find the rest. One of the best tips we can give you about Days Gone is to use the Unlimited Materials Exploit.
It helped us immensely and we strongly suggest you learn the mechanics behind it. Otherwise, you may run out when you really need the resources.