Are you struggling to defeat Rayvis in Star Wars Jedi Survivor? Rayvis can be a tough opponent with his strong force powers and lightsaber skills, but with the right tactics and preparation, you can beat him without breaking a sweat.
So, gear up your lightsaber and let’s dive into the tips and tricks to emerge victorious against Rayvis.
Rayvis

Rayvis is a GenDai and the leader of the Bedlam Raiders in Star Wars Jedi: Survivor. He serves Dagan Gera and is one of the toughest bosses in the game. Although players meet him early on, his boss fight only starts in Chapter 5 toward the end of the campaign.
Rayvis has deadly combos and can be a challenging opponent, but beginner and seasoned players can beat him with the right strategy. The best approach when facing Rayvis is to avoid his attacks and focus on counterattacks. This guide provides all the tips and tricks necessary to make defeating him a bit easier.
GenDai Leader of the Bedlam Raiders
The GenDai leader of the Bedlam Raiders, Rayvis serves Dagan Gera and is tasked with killing Cal Kestis during the game’s campaign. He is known for his deadly combos and uninterruptible attacks, making him one of the toughest bosses in the game.
Despite his fearsome reputation, players can defeat Rayvis by staying away from his projectiles, dodging his heavy attacks, and breaking his charging strikes with the blaster. By utilizing the right strategies and skills, players can overcome this challenging encounter and emerge victorious.
When to Fight Rayvis in Jedi Survivor
Players will encounter Rayvis during their second visit to the Shattered Moon planet. Players must pursue Rayvis, which will lead them to ascend a tower and complete various tasks, including using the Force Pull ability to move an orb through a puzzle-like system and activating a nearby laser.
Players must climb and grapple their way up using satellites to reach Rayvis, during which they will uncover a new ability. It’s recommended that players wait until late-game to fight Rayvis, as his battle has two phases and requires patience and skill to defeat.
Tips for Beating Rayvis in Jedi Survivor
1. Utilize conservativeness during the fight and keep Stims ready for healing.
2. Dodge Rayvis’ unblockable attacks, especially in Phase 1.
3. Use Force Push effectively to redirect Rayvis’ missiles and gain an opportunity to attack.
4. Circle and dodge during Rayvis’ multi-hit combos to deal damage.
Phase 1 of the Battle with Rayvis
In Phase 1 of the Battle with Rayvis players should focus on close-range attacks while avoiding his projectiles and heavy attacks. Rayvis will start by swinging his flail, and players should stay close to him and parry his strikes. His flail attacks, except for the red ones, are breakable, and players should counterattack when his stance breaks.
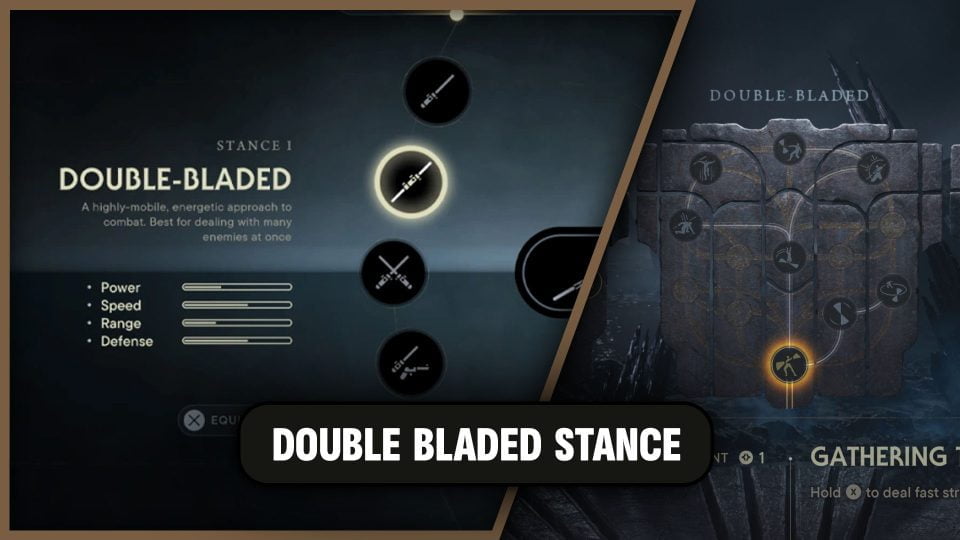
As Rayvis’s attacks follow a pattern, they are unsurprising and can be avoided with patience. Players can beat Rayvis in Phase 1 quickly by using the dual wield stance and upgrading skills such as Focused Parry, Dancing Blades, Flying Lunge, and Point Blank.
Phase 2 of the Battle with Rayvis
Phase 2 of the battle with Rayvis starts once his initial health bar drains. He becomes more aggressive and starts pushing Cal with projectiles. To beat him in this segment, players are advised to keep a distance and use long-range moves such as throwing the dual-wield lightsaber or shooting with the blaster. Rayvis’s attack strings are fairly long in this phase, and he will swing four to five times in a row.
He’ll also do a mixture of blockable and unblockable attacks, so players should pay attention and be prepared to parry and dodge on a moment’s notice. Patience is the key to beating Rayvis in this phase.
Phase 3 of the Battle with Rayvis
In the third phase of the battle with Rayvis, players need to avoid his new powerful attacks and stay mobile. Rayvis will leap towards Cal with a charging strike, which should be dodged. He will also fire explosive shots, which can be deflected back at him with a well-timed parry.
It is important to use long-range moves, such as the dual-wield lightsaber or blaster, to chip away at his health from a safe distance. Players can also use the Slow Time ability to gain an advantage over him. With patience and careful planning, players can defeat Rayvis and move on to the fourth phase of the battle.
Phase 4 of the Battle with Rayvis
In Phase 4 of the Battle with Rayvis in Star Wars Jedi Survivor, he becomes even more aggressive and uses his blaster more frequently. To beat him, players should focus on evasion and counterattacks. Stay away from his blaster shots and wait for him to charge towards you
When he does, dodge out of the way and counterattack using lightsaber strikes or blaster shots. Use the same tactics as in Phase 2 to whittle down his health bar. Remember to be patient and wait for openings to attack. With persistence, players can overcome Rayvis and move on to the next challenge in the game.
Best Stances and Skills for Beating Rayvis
Are you still struggling to beat Rayvis in Star Wars Jedi Survivor? Here are 9 of the best stances and skills to help you defeat this challenging boss:
- Use whichever combat stance you are most comfortable with.
- Always stay on top of Rayvis to be able to deal damage and parry his attacks.
- Keep Stims handy to heal during the battle.
- Use your Slow ability to get in some damage or heal.
- Circle Rayvis during his two quick three-hit combos to get in damage for a brief window after the combo is over.
- Force Push back Rayvis’s barrage of quick missiles.
- Dodge Rayvis’s unblockable attacks and try to avoid them.
- Be mindful of Rayvis’s range with his attacks.
- Watch for Rayvis’s patterns in the first phase to parry his attacks and take advantage of attack windows.
How to counter Rayvis?
1. Parry his attacks: Rayvis is a melee boss who uses a red lightsaber. You can parry his attacks with your own lightsaber by pressing the block button at the right time. This will not only negate his attack but also stagger him, allowing you to deliver a few quick strikes in response.
2. Use Force Push: Rayvis is susceptible to Force Push, so use it to knock him back and buy some time to heal or reposition yourself. You can also use Force Pull to bring him closer to you and take advantage of his temporary vulnerability.
3. Watch out for his unblockable attacks: Rayvis has a few attacks that can’t be blocked, like his Force Lightning and Force Slam. You can evade them by dodging or running, or use Force Slow to give yourself more time to react.
4. Keep your distance: If you’re having trouble parrying Rayvis’ attacks, consider keeping your distance and using ranged abilities like Force Throw or Lightsaber Throw. This will chip away at his health and force him to close the distance, giving you an opportunity to counter.
Overall, defeating Rayvis requires a mix of offense and defense. Practice your parrying, use your Force abilities wisely, and stay vigilant for his unblockable attacks. With persistence and the right approach, you can emerge victorious against this challenging boss.